
In this article, we will show you how to take a screenshot on an HP laptop or desktop computers. Using a screen capture tool, you can take screenshots of whatever you want. However, you may not know that you can also use screen capture on your HP notebook or desktop computer. Screenshots are useful, but for what purpose?
Taking screenshots comes in handy when you’re at work and want to educate your coworkers about a webpage or when your family is far away, and you want to take a picture of them.
Contents
Many modern models allow you to take screenshots by pressing F11 on the keyboard. Capturing moments directly from a screen, and saving them as images, is the game-changers of the modern computer age. Therefore, let’s take a closer look at how to take a screenshot on an HP laptop.
Default Way of Taking Screenshot on HP Laptop
- Turn on your HP laptop;
- Open the program you want to take a screenshot of;
- Hold down the “PrtScn” button;
- Open Paint;
- Open the “Edit” menu;
- Press “Ctrl” and “V” to paste the screenshot;
- Save the image;
- Close the document.
Alternative Default Way of Taking Screenshot on HP Laptop
If you want to take a screenshot of just a portion of your screen, Snap & Sketch allows you to do that easier than ever. Windows 10 laptop updates introduced additional features in October 2018 that let users grab portions of their screen without using third-party apps.
The following steps will walk you through the process of grabbing and saving:
- Simultaneously press Windows + Shift + S. Your cursor will change to a crosshair cursor, and your screen will fade to white;
- Select the area of your screen that you want to screenshot. The snippet copies to your computer’s clipboard and will vanish from your screen;
- Open a photo-editing application;
- To paste the screenshot, open a new image and press CTRL + V;
- Save the screenshot as a JPG or PNG file and keep it in a convenient location.
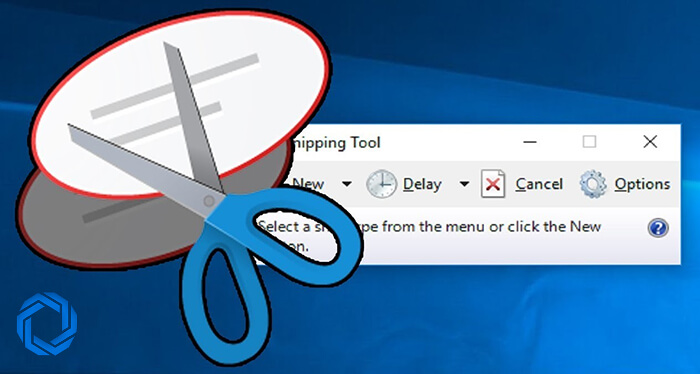
Snipping Tool
Using the snipping tool, regardless of whether you have a Windows Vista, Windows 7, 8, 10 or 11 computer, you can instantly capture any part of your screen that fits your needs. In addition, the snipping tool comes with every Windows desktop computer, and it is accessible through the start menu. So, once you reach these steps, you’ll be guided through this three-step process.
- To make a new snip, press “New” or CTRL + N in the snipping tool application.
- Drag the crosshair cursor across the desired area to create a rectangular outline.
- To save the screenshot as a PNG or JPEG file, press the disc icon in the snipping toolbar.
The snipping tool comes with several extra features, including the ability to switch modes. Therefore, you can snip in three different ways besides the standard rectangular snip.
- You can capture in any shape or form with free-form snipping. The free-form mode makes it simple to capture circles, ovals, and figure 8s.
- With a single click, the Window snip captures a screenshot of your active window.
- A full-screen snip captures the entire the screen. Thus, this is useful for dual monitor users who want to take a screenshot of both screens simultaneously.
- The snipping tool also has a pen and highlighter option, allowing you to draw on your screenshot to make annotations and point-outs clear and simple.
Snagit
In addition to capturing and editing screenshots, Snagit can record scrolling screens while also capturing video in real-time. Moreover, these steps will ensure that you are screen-grabbing as efficiently as possible.
- Open the Snagit application once it has been downloaded;
- To use the screenshot camera, press the red circle button at the top of your screen;
- To screenshot an image, select the camera icon, and to screenshot a video, select the recorder icon;
- Then choose which part of the screen you want to snap;
- In the Snagit application, your desktop image will appear. The clipped image can be edited, annotated, resized, copied, and saved from there.
Super Screenshot of HP Laptop
This lets you select the desired area while also adding text, annotations, blurring, and resizing options. Super Screenshot also includes a simple share button that allows you to send your image to a different location with a single button press.
Even if your device’s built-in photo editor allows for cropping and resizing, it may not be as efficient as using an app that allows for portioned screen captures. However, regardless of which method you use, the ability to screenshot allows you to save important documents or images, whether it’s a screenshot of your movie tickets or a funny text conversation.
Also read: The Best 4K Laptops
Desktop Screenshot Methods
Using the PrtScn Key
The Print Screen key is the first and most basic way to take a screenshot (PrtScn). Press the PrtScn key while the image/screen that needs to be captured is open. This key can be found on the keyboard’s top right corner.
Using the Snipping Tool
Another interesting feature in Windows 10 is the “Snipping Tool,” which allows the user to take a partial screenshot of the current window. Snipping Tool can be found by typing Snipping Tool into the search box. Alternatively, the Snipping tool can be found in Start Menu> All Programs> Accessories.
Using the Game Bar
Another popular method for taking screenshots in Windows 10 is to use the Game bar. Let’s take a look at the steps involved in this method.
Press the Windows key and the G key at the same time. This will bring up the Game menu. By going to Settings> Windows Settings> Game Bar, you can customize the settings for the Game Box.
Using Snip and Sketch Method
Press the Windows key Shift key + S – This method softens the screen before allowing the user to select the desired area of the screen to be captured using the cursor. After dragging the cursor along with the left key of the mouse to select the desired area, the user can paste it into one of the image editing tools.
Conclusion of Screenshot on HP Laptop and. Desktop
Using the methods described above, you now know how to take screenshots on an HP laptop or desktop. If you want to take one or more screenshots right away, the built-in apps on HP laptops are intuitive, quick, and comfortable for everyone.
But if you need to take lots of screenshots with more flexibility, or if you want to enjoy better functionality, or you need more functions like image editing, more screenshot modes, sharing and uploading, a third-party tool would be your best option.
Hopefully the information above is helpful to you. And if you have any questions or suggestions, feel free to leave us a comment below!
Hello Alex, I have a question: how to take screenshot on my HP laptop without screenshot button?
Hello Sammy, to take a screenshot on your laptop that has no Print Screen button, you may press the Fn key + Windows key + Space Bar at the same time. It will automatically take a screenshot.
Hello, how to take a screenshot on my new HP Tablet?
Hello Scott, You can capture the screen on HP tablet running Windows or Android by pressing Power + Volume Down. Find your screenshot in your tablet’s photo folder.
Hello, why is Print Screen not working?
Hello Katy, the problem may be caused by an old keyboard driver or an outdated operating system. You can update the keyboard drive and operating system to Windows 10 or 11. Besides, you can also check if the Print Screen key is enabled on your HP computer. I hope this helps.